


Peri-Implantitis
What Is Peri-Implantitis? What Is Peri-Implantitis? Dental implants have become a popular and effective solution for replacing missing teeth. However, like any other dental treatment,

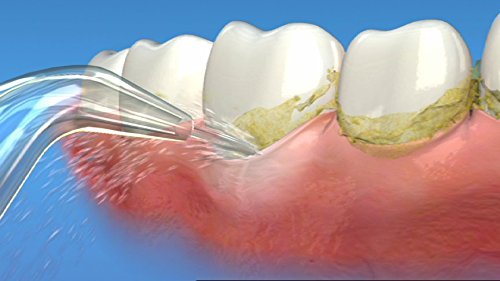
Teeth Cleaning Post-Visit Instructions
Teeth Cleaning Post-Visit Instructions What You Should Do After Your Teeth Cleaning Appointment To Ensure A Long Lasting, Bright And Healthy Smile. When was the
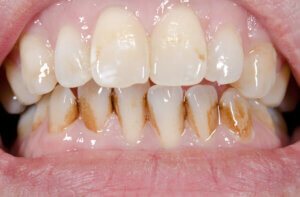
Teeth Staining
Teeth Staining What Is Teeth Staining? Teeth staining is a common dental condition that can affect anyone, regardless of age or oral hygiene habits. It
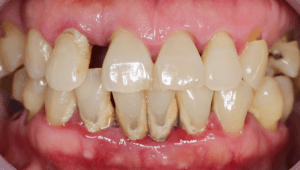
Dental Calculus
Dental Calculus What Is Dental Calculus? Dental calculus, also known as tartar, is a hard, yellowish or brownish mineral buildup that forms on teeth and
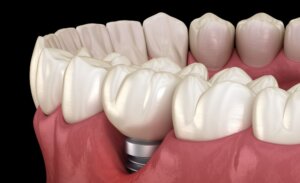
Dental Implant Failure
Dental Implant Failure What Is Dental Implant Failure? Dental implants are one of the most popular and effective solutions for replacing missing teeth. They are

Halitosis
Halitosis What Is Halitosis? Halitosis, commonly known as bad breath, is a condition where the breath has an unpleasant odor that can be embarrassing and